If you’ve tried searching for recessed lighting inspiration online, you’ve probably noticed that the lighting itself is often nowhere to be seen. Most designers/photographers (we’re guilty of this too) tend to photoshop it out, leaving you with images that look great but don’t exactly show the lighting in action.
In this post, we’re going to be taking a closer look at recessed lighting: when and where it’s most effective, some general guidelines for placement, and a few options that go beyond the traditional can light. Whether you're updating an existing space or planning new construction, we hope this helps you navigate the ins and outs of using recessed lighting in a way that enhances your home without overwhelming it.
where to use it
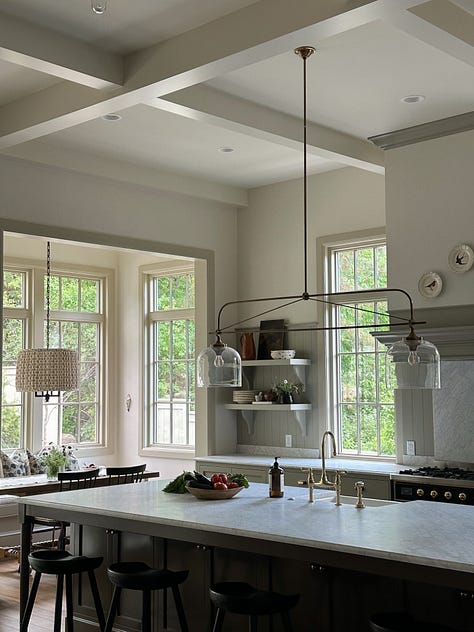
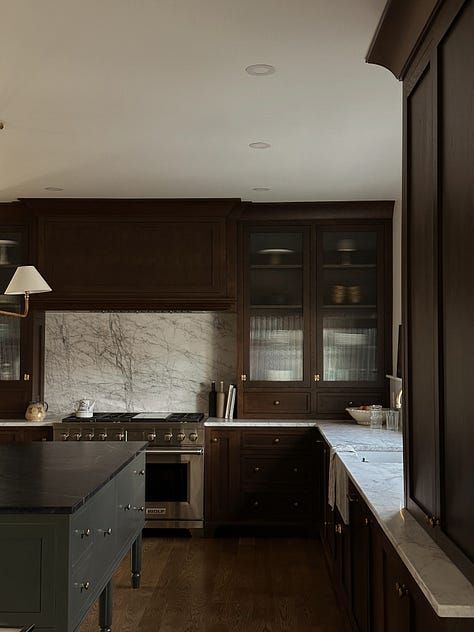
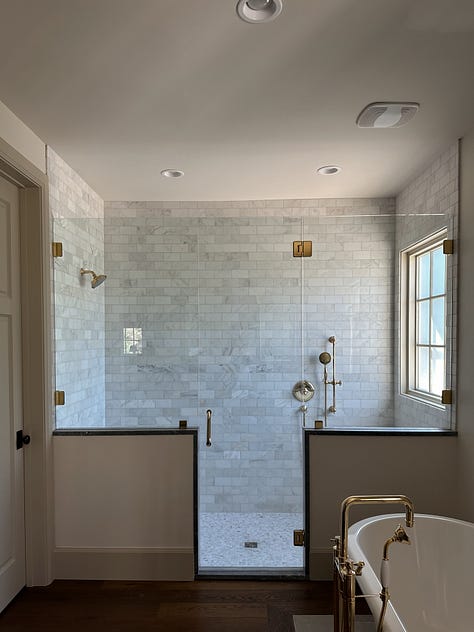
We like to use recessed lighting in spaces where you need to flood the room with light and where installing a light fixture is not an option.
Examples: rooms with lower ceilings, hallways, kitchens, closets, bathrooms (around vanity and shower), & basements.
where it’s not necessary
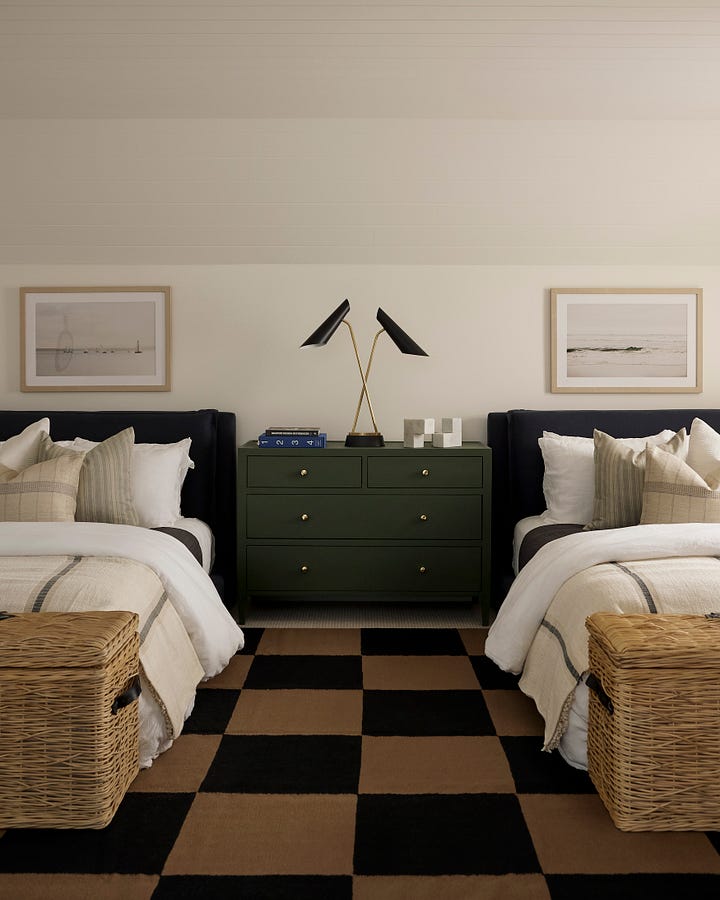
We try not to use recessed lighting anywhere that lamps, task lighting, ceiling and wall fixtures are sufficient.
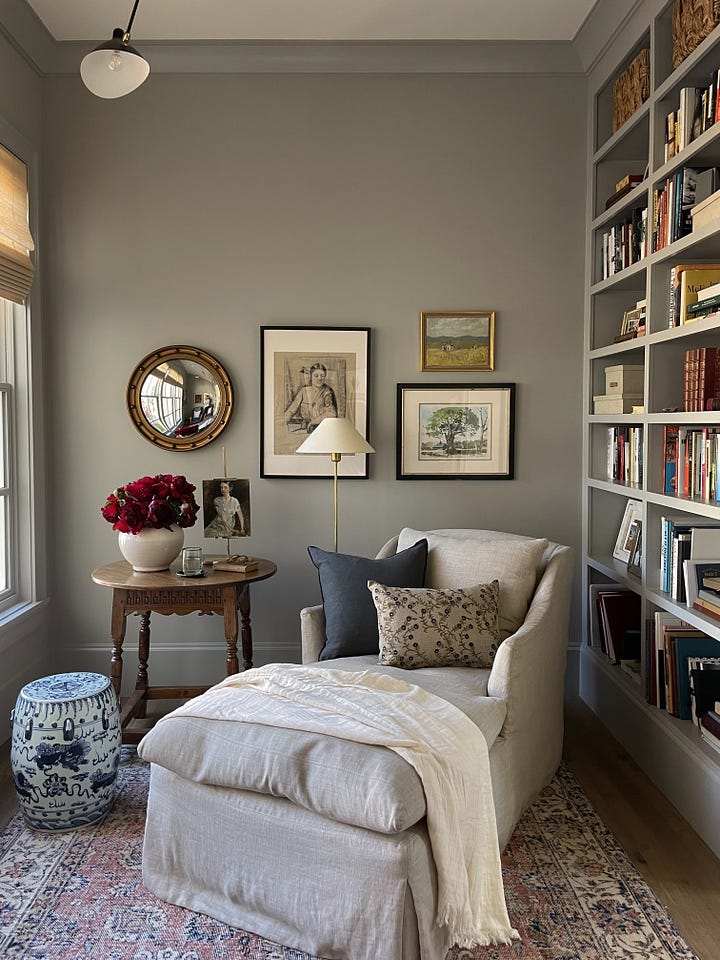
Examples: Bedrooms, libraries, dining rooms, living rooms, formal living rooms, & powder baths.
placement and general rules
Don't place recessed lights too close to each other (too close = anything less than 3ft apart).
A good rule of thumb for placing recessed lighting is to divide the ceiling height in 2 and that's how far apart they should be. For 8 ft ceilings, they would be 4 ft apart, 10 ft ceilings they would be 5 ft, etc.
In a hallway, place lights further apart (about 6-8 ft).
If you’re not using recessed lights in a space, make sure you have outlets installed in proper locations for task lighting.
Generally, exceeding 4-6 lights per 100 square feet is considered excessive.
We tend to go with a 4” wide recessed light in our projects.
types of recessed lighting
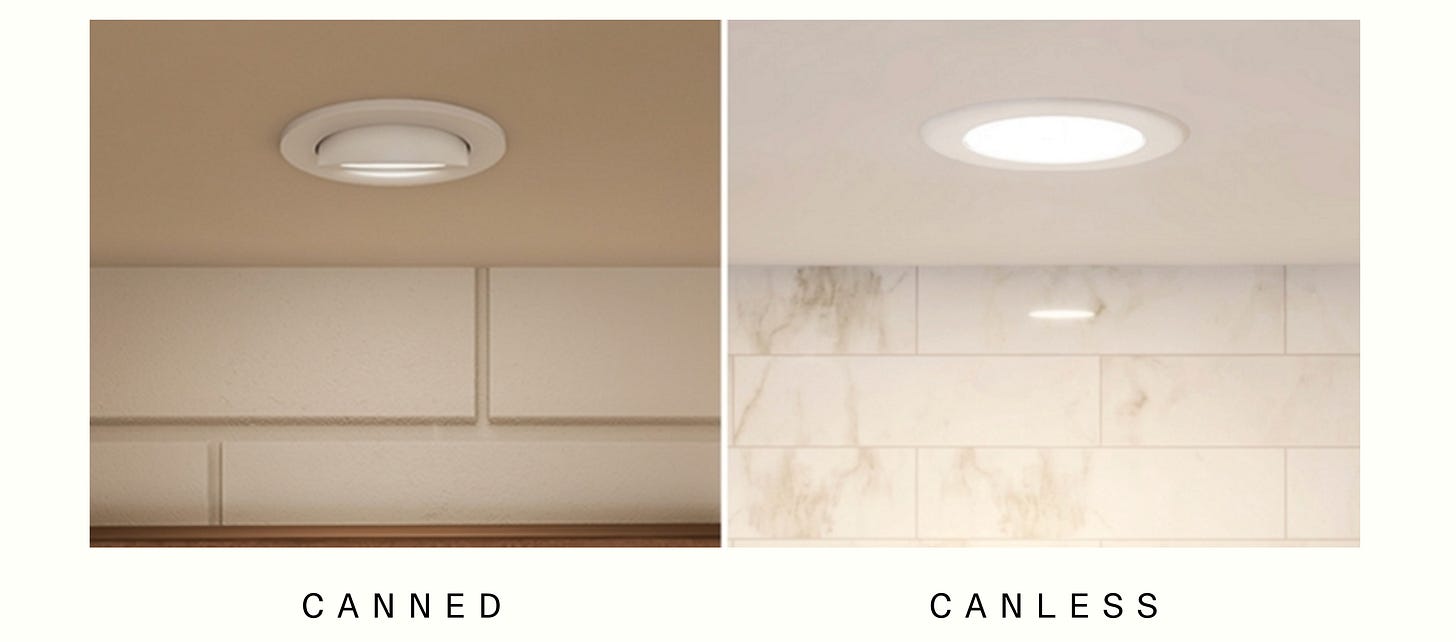
Canned vs. Canless—
Canned lights are designed with an electrical box inside of them and you can usually see the lightbulb (and choose which lightbulbs you want to put in them). They also have a few more trim options than canless lights because they aren’t sitting totally flush to the ceiling.
Canless lights typically don’t require a lightbulb and have integrated LED lights. They can offer more of a sleek look because they sit flush to the ceiling and have a low profile. We prefere this type of recessed lights when possible.
Types of trim—There are quite a few different types of trim kits that you can choose from when deciding on recessed lighting. Some of the most common are:
adjustable - contains an adjustable interior light so that you have more control over where you want the light to go
baffle - one of the most popular because the ribbed surface inside the trim diffuses the light, preventing harsh glare directly from the bulb
reflector - has a metal interior that helps reflect light to give off more light in larger spaces
open - makes the lightbulb sit flush with the ceiling and works great for when you want the most light possible without a diffuser over the bulb
alternatives to recessed lighting
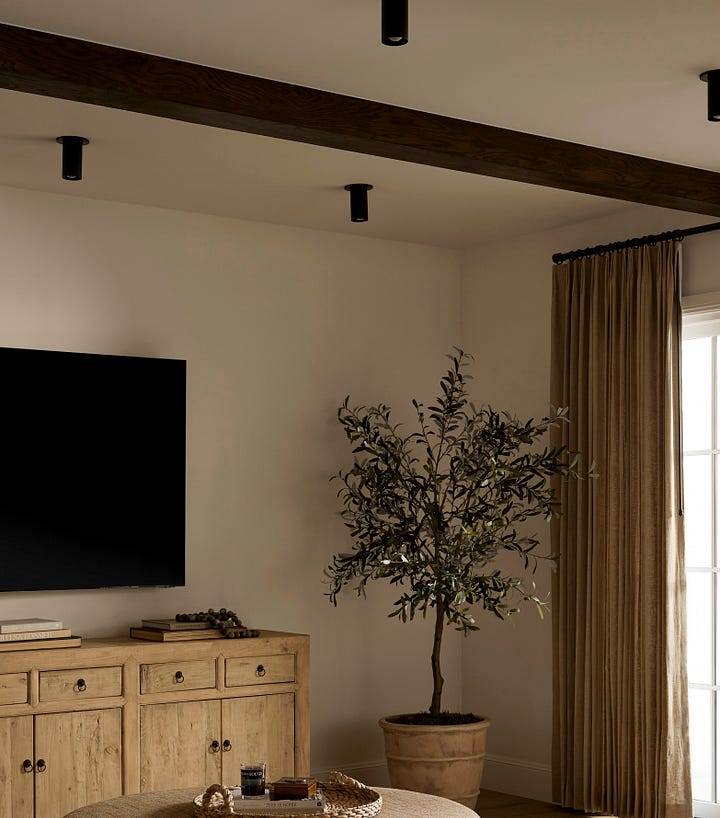
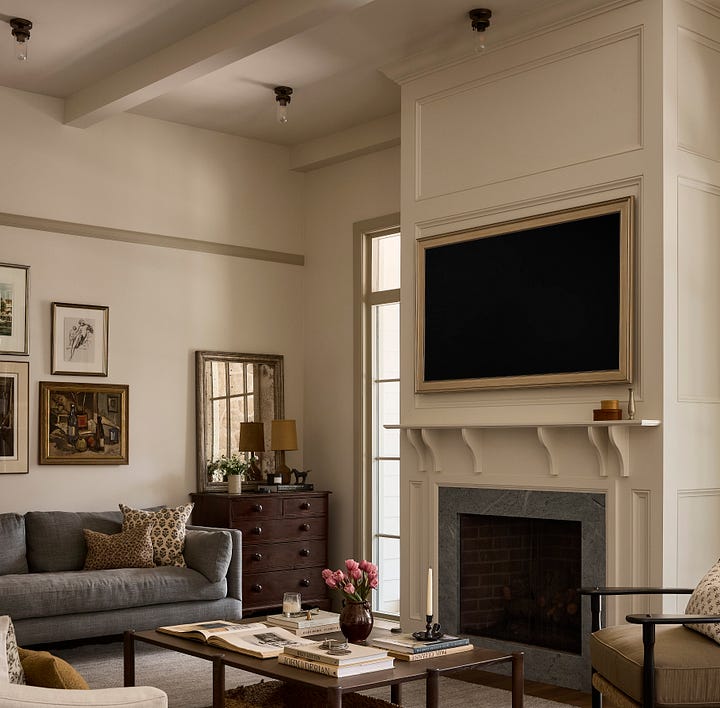
If you’re looking for something a little more elevated than your typical canned lighting, here are a few of our favorites that we’ve used in recent projects:
Mullan Glass Flush Ceiling Light
We hope that these tips can help you make more informed decisions when you’re creating a recessed lighting plan. Let us know in the comments if you have any questions at all. Thanks for reading!



A timely post-starting a bathroom reno and was going to have Visual Comfort Bryant sconces on either side of mirrors but still planning on one or two canned lights above for better lighting for makeup etc. Do you have a particular type you recommend for bathrooms? Also the builder has only one can light planned but an electrician once told me that you need two above a mirror so the light doesn’t produce a shadow on the face. True?
I absolutely love your posts and willingness to educate. I also have the same approach to adding recessed to projects and in my own recent renovation added 3” recessed to my kitchen and I do love having it for a brighter wash of lighting and for tasks. Always on a dimmer!
In high end projects, I always recommend using a plaster in true recessed/regressed fixture. I find that having no trim (ring on ceiling) can really disguise the recessed the best. When I have a painted or wood ceiling, I have the painters match the interior of the can to the ceiling and have had great success!
Adding a couple of recommendations:
I really like the 3” regressed option from lotus- budget friendly and great light quality. Used these in my own home and am really happy with the light quality.
Tech lighting via visual comfort has a great line of trim less/plaster in recessed with a lot of options for CRI, beam spread, temp, adjustability.
In high end projects I use the aera by lumenwerx. 2”-3” plaster in adjustable option. You can change out the lenses and baffles, they have multiple factory finished options for the interior of the light (champagne, bronze, white) and the white is easily paintable.
Love your work!!!!
Elizabeth of Arkins Dasco Design